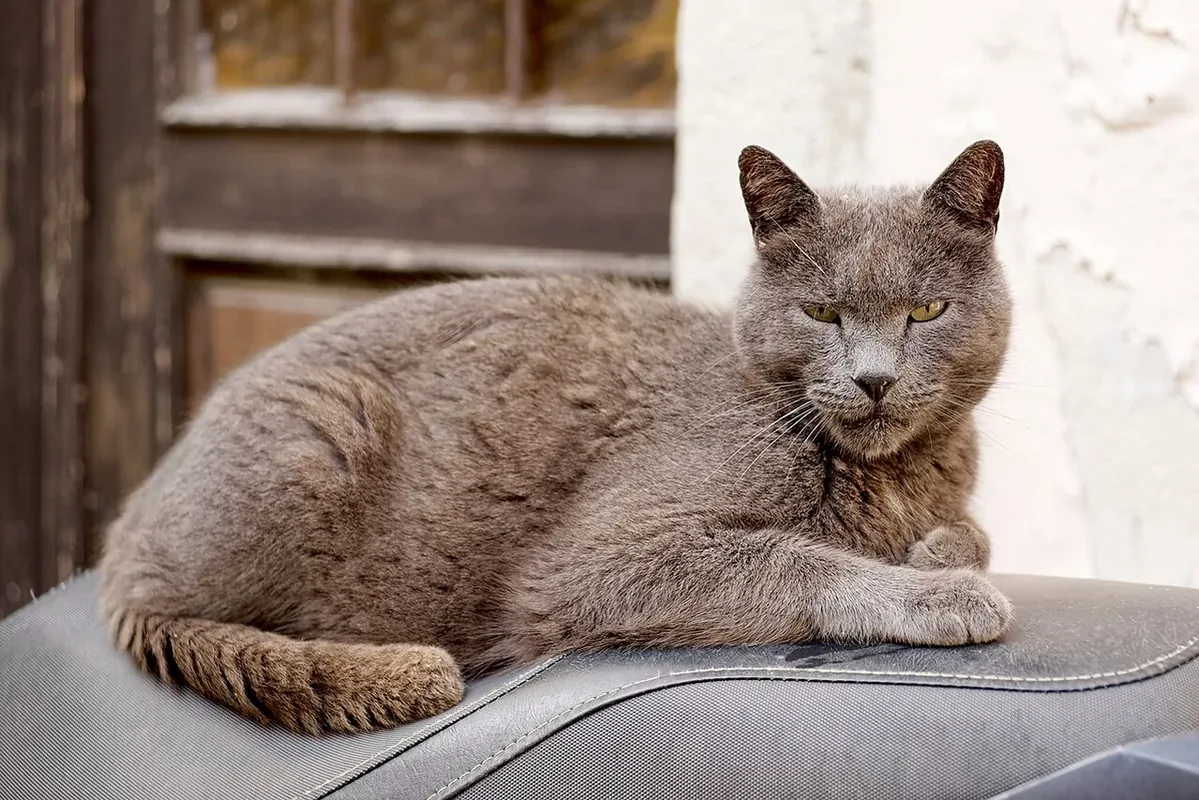

A cat carrier often appears only when something disruptive is about to happen. It comes out of a closet, the household starts searching for the cat, and a door closes behind the animal. Leaving a suitable carrier out at home changes the starting point. It becomes a familiar object long before a trip, and preparation can move at the cat’s pace rather than the appointment clock.
Choose a carrier that works when it is occupied
Begin with the cat’s size and the way the carrier opens. It should be sturdy, secure, well ventilated, and large enough for the cat to stand and turn comfortably. Inspect every fastening, including the connections between the upper and lower sections of a hard carrier. A removable top can help veterinary staff work with some cats while they remain on familiar bedding.
Ask your clinic which carrier styles are workable for your cat’s needs. A fashionable backpack or transparent capsule is not automatically the best choice. Consider carrying balance, access for examination, cleaning, and whether the carrier becomes hot or visually exposed. Follow the manufacturer’s weight limits and transport instructions. A carrier that folds flat at home still needs reliable rigidity and closure in use.
Try carrying the empty carrier first. Notice whether a shoulder strap leaves it swinging and whether you can operate the catches without pinching your fingers. Set it on a stable surface and see how the doors move. These practical details matter when you eventually carry a cat through a parking lot. Learning them now avoids making the cat part of the equipment test.
Make space without taking over the room
The Feline Veterinary Medical Association’s cat-to-vet guidance recommends making the carrier familiar by leaving it in a room the cat uses. Choose a quiet, stable location with a clear exit. Avoid the route of a vacuum cleaner, a narrow doorway, or a place where another pet can corner the cat. A little planning makes the carrier available without turning the room into an obstacle course.
Secure the open door so it cannot swing shut unexpectedly. If the manufacturer permits removing the door or top during introduction, store the pieces safely and remember that they must be correctly refitted before travel. Add clean, familiar bedding that lies flat and does not obstruct ventilation or catches. Do not use the carrier to replace all other hiding places.
Let the cat discover the object without placing the cat inside. Sitting near the carrier can be a comfortable first step; sniffing its edge can be another. A cat does not need to walk all the way in during the first session. Keep the rest of the household routine predictable and allow other pets away from the practice area.
Define a small first goal
Pick one action you can recognize: approaching the carrier, looking inside, or putting a paw on the bedding. Reward voluntary exploration with something the cat already enjoys and can have safely. If food is used, count it within the feeding plan. A tiny suitable reward is usually easier to deliver than a large snack that distracts from the next step.
Place a reward near the entrance before moving it farther in on later occasions. Do not put it so deep inside that a reluctant cat must choose between food and a frightening space. Avoid deprivation as a shortcut. If your cat is not comfortable enough to take a usual reward, reduce the challenge and ask your veterinary team for guidance when needed.
Keep sessions short and quiet. End when the cat is still able to leave and return easily. The number of repetitions matters less than what happens in each one. One relaxed investigation is useful; ten hurried attempts followed by grabbing the cat can undo the practical benefit of the setup.
Add the door as its own lesson
Once the cat enters voluntarily and remains comfortable, introduce very small movements of the door without closing it. Reward and return the door to its resting position. A hand reaching toward a latch can be a new event even when the carrier itself has become familiar. Break the work into pieces so you can see which part changes the cat’s response.
Only progress to momentary closure when the cat is comfortable with the preceding step. Open again promptly, before trying a longer duration. Watch whether the cat can continue ordinary behavior rather than assuming quietness always means comfort. If the cat urgently tries to leave, makes the carrier unstable, or becomes distressed, return to an easier stage and seek help if the difficulty persists.
Do not shut the door as a surprise after luring the cat inside. A reliable practice arrangement makes it possible to leave during the early work. Closure becomes a predictable small addition. This approach gives you more information about the cat’s comfort than a contest over whether the door can be latched quickly enough.
Teach movement separately from entry
A carrier resting on the floor and a carrier lifted into the air are different experiences. Begin with the smallest movement the cat can handle comfortably, then set the carrier back down. Support the base as the design allows, keep it level, and avoid swinging it from a handle. Check the latches before every occupied lift.
Progression might include a brief lift, a few steps in the room, and eventually the route to the car. These are examples of stages, not a deadline or fixed schedule. Repeat an easier stage if you notice a change. Do not practice an outdoor route with an unsecured door or by opening the carrier outside.
Keep movement practice separate from the first drive. You can inspect the car and plan its carrier position with the carrier empty. Follow vehicle and carrier instructions for secure transport. A pet loose in the car can interfere with driving; a carrier that slides during braking also creates risk. Ask the clinic about safe positioning if you are unsure.
Make the actual appointment less hurried
Prepare the history, medication information, and questions the day before. Check the clinic’s arrival instructions and whether you can wait somewhere quiet. Plan enough time to close and carry the carrier calmly, while avoiding a long, unnecessary wait in a vehicle. Keep the cat’s comfort and safe temperature conditions in mind throughout the journey.
If your cat needs veterinary-prescribed medication before travel, obtain instructions early and follow them exactly. Ask about timing, administration, expected effects, and what to do if the dose is missed or the cat refuses it. Do not borrow another pet’s medicine or improvise with human products. Carrier practice supports preparation but does not replace medical advice for significant travel distress.
A cover may reduce visual stimulation for some cats, but it must preserve ventilation and suitable temperature. Choose a light cover positioned so it does not block airflow. Check the cat rather than assuming a covered carrier is automatically comfortable. Avoid adding strong scents or unfamiliar products immediately before a trip.
Keep familiar routines after the trip
On returning home, place the closed carrier in a secure indoor room before opening it. Let the cat emerge voluntarily when practical. Restore ordinary resources and give space for recovery. If there are other cats, ask the veterinary team about reintroduction after a visit; unfamiliar clinic smells can affect their interactions.
Wash the carrier when needed using a product and method appropriate for the material, then rinse or dry as directed. Replace bedding with suitable familiar material. Return the carrier to its everyday location once it is ready. If it disappears into storage again, the next appointment starts with the same abrupt environmental change you worked to reduce.
Keep a simple note of what helped: which entry stage was easy, whether the car route was difficult, and whether the clinic offered a calmer arrival option. Share those observations at future visits. Avoid labels such as “impossible cat”; they tell the veterinary team less than a description of the exact point at which the cat became distressed.
Troubleshoot the setup before asking for more effort
If the cat will not approach, look at the surrounding space. Another animal may be watching the entrance; the bedding may smell strongly of cleaner; a loose door may rattle; or the carrier may sit beside a noisy appliance. Correct the physical issue first. More rewards do not make an unstable or poorly placed object suitable.
If progress stops at closure, return to door movement. If it stops at lifting, practice stable carrying with the carrier empty and ask for a tailored plan for the cat. Separate the stages so you are changing one challenge at a time. A phone video made without provoking distress can help a qualified professional understand the setup.
A necessary veterinary visit should not be delayed until a training plan is complete. Contact the clinic when a visit is due and explain the difficulty. The team may adapt handling, appointment timing, or prescribed support. Over time, keep offering small, manageable practice opportunities. The carrier does not have to become the cat’s favorite bed to become a more familiar and usable part of daily life.
Keep a stage record rather than a deadline
Make a small table with the stage, date, what the cat did, and the next easy step. A useful entry might describe voluntary entry, comfortable door movement, or a brief supported lift. Do not label every session passed or failed. The record is a way to preserve details, especially when another caregiver shares the practice.
Leave future dates blank until the preceding stage is comfortable. Some cats may need more time around a moving door; others may find carrying the larger challenge. The table helps you keep those experiences separate rather than compressing them into one difficult session. Bring it to the veterinary team or qualified behavior professional if you need help. Keep necessary appointments on their own schedule and ask the clinic how to manage transport while learning continues. Progress is practical when the cat can repeat a manageable step and the people know how to prepare the next one without rushing.
Connect this task to the wider care plan
Keep transport practice separate from the equipment introduction and plan manageable stages with Help a Cat Get Ready for Travel in Small Steps.
Compare a carrier’s practical access, cleaning, and journey requirements before buying with Soft Carrier or Hard Kennel? Start With the Journey.
Bring factual observations and the relevant routine to a clinical conversation with Bring the Story: Build a Useful History for Your Next Vet Visit.
Editorial note: Prepared with AI assistance by Pet Living Magazine using the sources below. This article has not been reviewed by a veterinarian; individual care questions belong with your veterinary team. The photograph is representative editorial imagery, not a demonstration of every recommendation.
Prepared with AI assistance and source checks. General editorial information; no veterinarian-review claim. Report a correction.